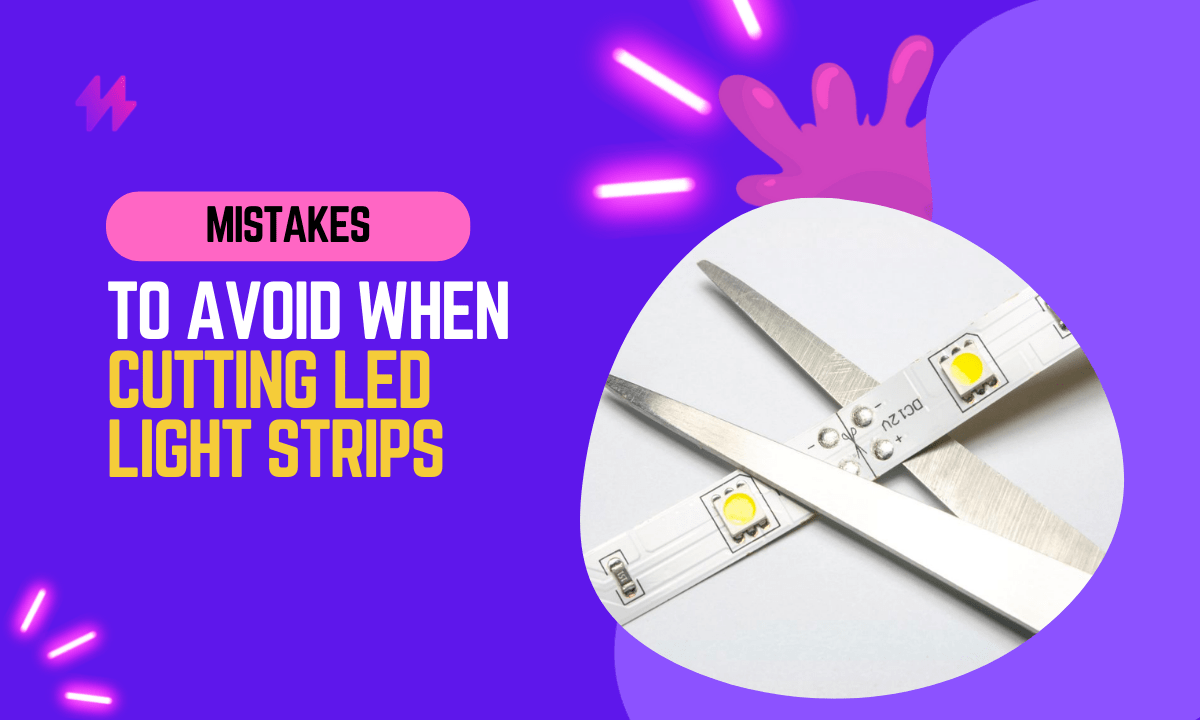
5 Mistakes to Avoid When Cutting LED Light Strips
Whether you’re looking to spruce up your living space, create a mood for your next party, or just add a touch of pizzazz to your latest crafting project, LED light strips are the way to go. They’re versatile, energy-efficient, and easy to install. But before you get too excited and start snipping away at your brand-new LED light strip, there are a few things you need to know.
Cutting LED light strips requires a certain level of finesse and know-how. One wrong move, and you could end up with a mess of tangled wires and wasted money. In this article, we’ll go over 5 common mistakes to avoid when cutting LED light strips, so you can achieve the perfect cut every time. From measuring mishaps to bending blunders, we’ve got you covered.
So, before you grab your scissors and dive in, let’s make sure you know what you’re doing.
Mistake #1: Not Measuring Properly
One of the most common mistakes people make when cutting LED light strips is not measuring them properly. It might seem like a simple task, but even the slightest miscalculation can throw off your entire project. Before you start cutting, take the time to measure your LED light strip accurately.
First, determine the length of the area where you want to install the LED light strip. Use a measuring tape or a ruler to get an accurate measurement. Make sure to measure the entire length, even if you plan on cutting the LED light strip into smaller sections. You don’t want to end up with a strip that’s too short or too long for your intended purpose.
Mark the measurement on the LED light strip. You can use a pencil or a piece of tape to mark the spot where you need to cut. Double-check your measurement to make sure it’s accurate before you start cutting. You don’t want to cut too much or too little, or you’ll end up wasting time, money, and energy.
Finally, use a sharp pair of scissors or a sharp utility knife to cut the LED light strip. Make sure to cut in a straight line and avoid any jagged edges.
Also read: What is the dimension of LED strip light?
Mistake #2: Cutting in the Wrong Place
Another common mistake people make when cutting LED light strips is cutting them in the wrong place. This mistake can cause irreversible damage to your LED light strip and render it unusable. Before you make any cuts, it’s essential to know where to cut your LED light strip.
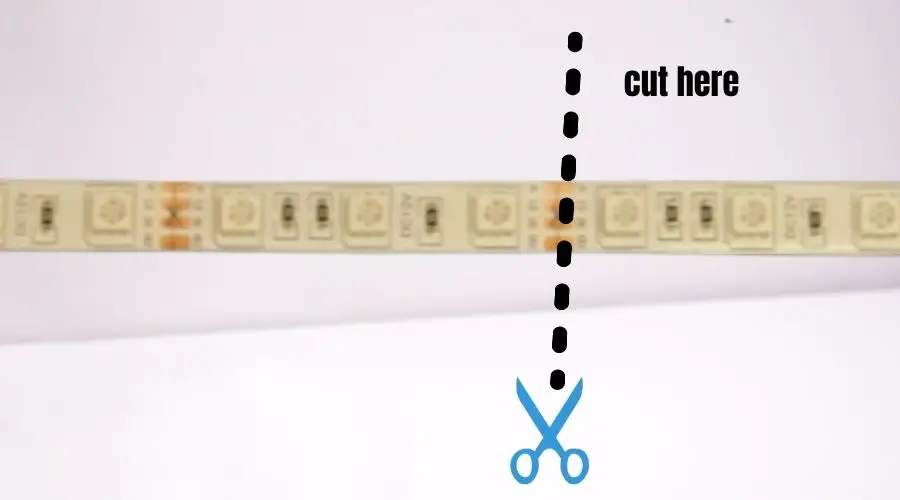
LED light strips are designed with a dotted line in the middle that indicates where you can safely cut them. This line is where the copper contacts are located, and it’s essential to avoid cutting through them. If you miss through the contacts, you’ll break the circuit, and the LED lights won’t work.
To avoid cutting in the wrong place, locate the dotted line on your LED light strip. This line is typically marked with scissors or a knife icon, and it’s usually located every few inches on the strip.
Mistake #3: Using the Wrong Tools
Using the wrong tools to cut LED light strips is another mistake that people often make. Using the wrong tools can damage the LED light strip, create uneven edges, or even cause harm to yourself. Before you start cutting, it’s important to make sure you have the right tools on hand.
When it comes to cutting LED light strips, a sharp pair of scissors or a sharp utility knife is the best tool to use. Avoid using dull scissors or knives, as they can crush the LED light strip and cause it to malfunction. Additionally, using a saw or a rotary tool can generate too much heat, damaging the LED light strip.
Mistake #4: Not Sealing the Cut Ends
Sealing the cut ends of your LED light strip is crucial to preventing corrosion and damage. Leaving the cut ends of the LED light strip exposed can cause moisture and debris to accumulate, which leads to corrosion and damage to the LED light strip.
To seal the cut ends of your LED light strip, you can use heat shrink tubing or electrical tape. Heat shrink tubing is a thin, heat-sensitive material that shrinks when heated with a heat gun, creating a tight seal around the cut end of the LED light strip. Electrical tape can also be used to seal the cut end, but it’s not as durable as heat shrink tubing.
Also check out: Best Double-Sided Tape for LED Light Strips
Mistake #5: Overbending the Strips
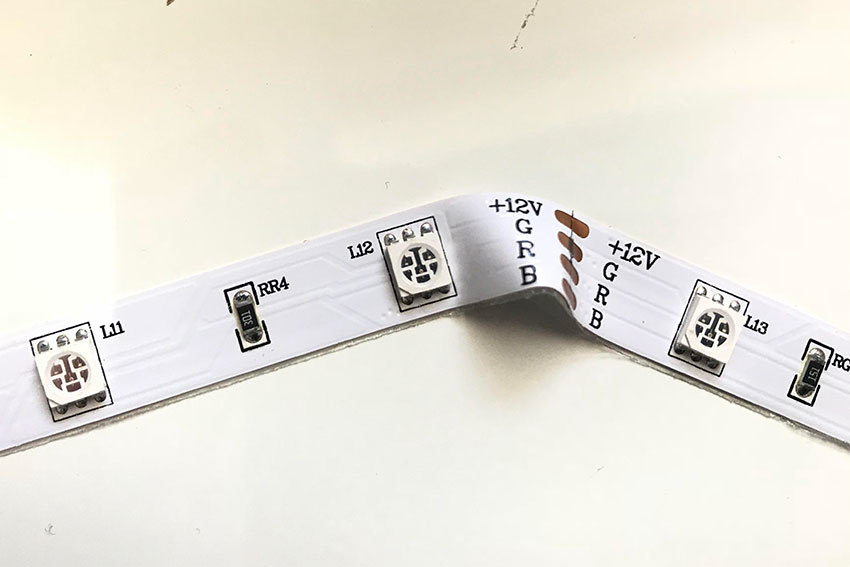
Another common mistake when cutting LED light strips is overbending them. LED light strips are designed to be flexible, but overbending them can cause the strip to break or the LED lights to malfunction.
To avoid overbending your LED light strip, it’s important to understand its bending radius. The bending radius is the minimum radius that the LED light strip can be bent without damaging it. You can find the bending radius in the manufacturer’s instructions.
When bending your LED light strip, make sure to bend it slowly and carefully. Avoid bending it sharply or at an extreme angle, as this can cause damage to the strip. If you need to make a sharp bend, use a bending tool to make the bend more precise and avoid overbending.
Final Words
In conclusion, cutting LED light strips requires precise execution and attention to detail to ensure the functionality and aesthetics of the lighting are maintained. One critical mistake to avoid is cutting outside the designated cutting points, which are clearly marked on the strips. These points are specifically designed to allow for a safe cut without damaging the electrical circuitry within the strip. Cutting elsewhere can lead to shorts and render sections of the strip unusable, resulting in wasted materials and increased costs. Additionally, it’s essential to use the right tools, such as a sharp pair of scissors or a knife, to ensure a clean, straight cut. Jagged or angled cuts can compromise the integrity of the LED strip, leading to poor connections and inconsistent lighting.
Furthermore, it’s imperative not to overlook the importance of planning and measuring the area where the LED strip will be installed before making any cuts. This planning ensures that the light strip fits perfectly in the desired space without unnecessary splicing or extensions that can affect the uniformity of the lighting. Another common mistake is neglecting to test the strip’s functionality after cutting and before installation. This step is crucial to confirm that all sections of the strip are fully operational and that no damage occurred during the cutting process. By avoiding these common pitfalls, DIY enthusiasts and professionals alike can successfully customize LED light strips to fit any space, enhancing the ambiance with efficient, evenly distributed light that adds both value and beauty to the area.