How To Open LED Light Remote?
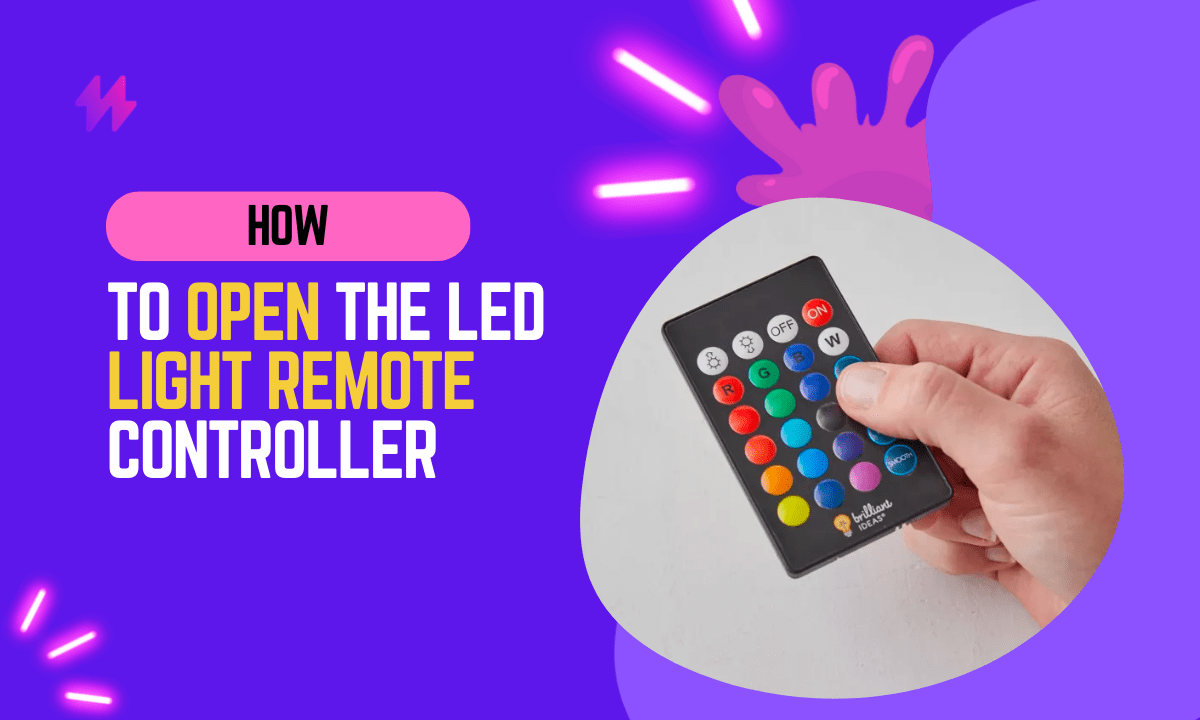
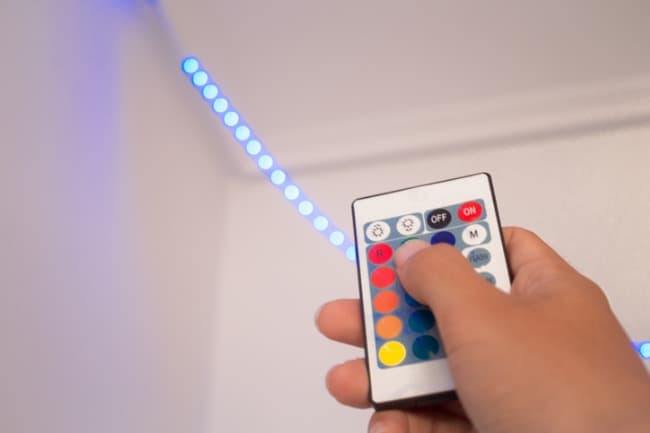
LED light remote, often taken for granted, empowers us to control and manipulate our lighting systems effortlessly. With just a few button presses, we can adjust brightness levels, change colors, set timers, and even create dynamic lighting effects. It’s a modern convenience that significantly enhances our comfort and living experience.
However, like any electronic device, LED light remotes can experience issues over time. Buttons might become unresponsive, connections could loosen, or the batteries might require replacement. When these problems arise, it’s natural to feel frustrated and wonder if you should buy a new remote or seek professional help.
Whether you’re a DIY enthusiast or someone looking to save some money on repairs, understanding how to open LED light remote can be a valuable skill because sometimes resetting the remote controller doesn’t help.
LED Light Remote Components
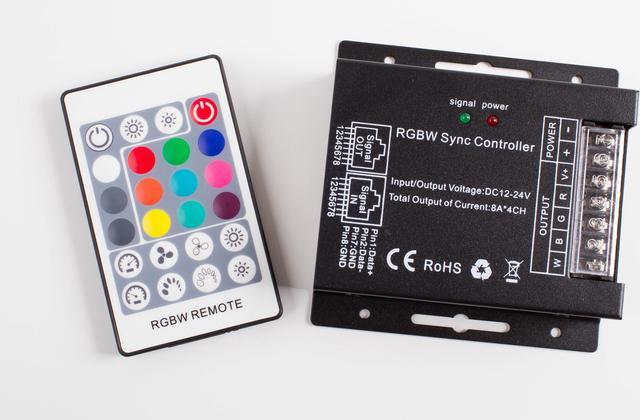
To effectively troubleshoot and open LED light remote, it’s essential to familiarize yourself with the various components that make up this compact device. While different remotes may have slight variations, the following are some of the common components you might encounter:
External Casing
The external casing is the outer shell of the LED light remote, designed to protect the delicate internal components from physical damage and environmental factors. It is typically made of plastic and may have various shapes and sizes, depending on the remote’s design. Some casings may be held together with screws, while others might use clips or adhesive to keep them sealed.
Buttons
The buttons are the primary user interface of the remote. When pressed, they send signals to the remote’s circuitry, instructing it to perform specific functions. LED light remotes usually have buttons for power on/off, brightness control, color changing, mode selection, and other lighting effects.
Rubber Membrane
Beneath the buttons, there is usually a rubber membrane with conductive pads. When you press a button, the corresponding conductive pad makes contact with the circuit board, completing an electrical connection and triggering the desired function.
Circuit Board
The circuit board is the brain of the LED light remote. It contains various electronic components, including microcontrollers, integrated circuits, resistors, capacitors, and sometimes surface-mounted LEDs. The circuit board processes the signals from the buttons and sends commands to the LED light system based on the user’s inputs.
Also read: How To Sync LED Lights To Music? (3 Methods)
LED (Light Emitting Diode)
Some LED light remotes are equipped with a built-in LED to serve as a visual indicator. This LED might light up when the remote is powered on or when a button is pressed, confirming that the remote is functioning correctly.
Battery Compartment
If the LED light remote is powered by batteries, it will have a designated battery compartment. The number and type of batteries required will depend on the remote’s specifications. The battery compartment may feature a lid that can be opened for battery replacement.
Infrared (IR) Transmitter
Certain LED light remotes communicate with the lighting system using infrared (IR) signals. The IR transmitter on the remote emits pulses of infrared light with specific codes that the LED light system recognizes and interprets. However, not all LED light remotes use IR technology, and some may rely on other communication methods like radio frequency (RF).
Also read: Can You Shorten LED String Lights?
Tools Required to Open LED Light Remote
Having the right tools for the job is essential when attempting to open an LED light remote. These tools will help you disassemble the remote safely and efficiently without causing any damage.
While the specific tools needed may vary depending on the remote’s design, the following are some commonly used tools that will likely come in handy:
- Phillips-head screwdriver
- Plastic Pry Tools or Opening Picks
- Precision Tweezers
- Anti-static Wrist Strap (Optional but Recommended)
- Small Flashlight or Headlamp
- Isopropyl Alcohol and Cotton Swabs
- Soldering Iron and Solder (Only if you plan to perform component-level repairs)
Also read: How To Fix LED Light Remote Wrong Colors
How to Open an LED light remote? (Step-by-Step)
Opening an LED light remote requires a careful and systematic approach to avoid damaging the device. Follow these step-by-step instructions to safely open the remote and access its internal components:
Step 1: Safety Precautions:
- Power off the LED light system: If the remote is currently controlling an LED light system, turn off the lights before proceeding.
- Remove batteries: If the remote uses batteries, remove them to prevent any power source from being active during the disassembly process.
- Use an anti-static wrist strap (optional but recommended): If available, wear an anti-static wrist strap to discharge any static electricity and minimize the risk of damaging electronic components.
Step 2: Identify Casing Retention Mechanism: Examine the remote’s exterior to identify how the casing is held together. Look for screws, clips, or adhesives that secure the casing.
Step 3: Remove Screws (If Applicable): If the casing is held together by screws, use the appropriate Phillips-head screwdriver to carefully remove them. Place the screws in a small container to avoid losing them.
Step 4: Release Clips (If Applicable): For remotes with clips, use plastic pry tools or opening picks to gently and evenly separate the casing along the edges. Start at one point and work your way around the perimeter, being cautious not to apply excessive force.
Step 5: Disassemble Casing (If Applicable): If adhesive is used to seal the casing, use a plastic pry tool or opening pick to gently separate the casing at its seams. Be patient and take your time to avoid cracking or breaking the plastic.
Step 6: Observe Internal Components: Once the casing is partially opened, take note of the internal components, such as the circuit board, buttons, rubber membrane, and battery compartment.
Step 7: Remove Circuit Board and Components: Carefully lift the circuit board from the casing, avoiding any undue pressure on the electronic components. Pay attention to any ribbon cables or connectors that may still be attached.
Step 8: Clean Internal Components (Optional): If there is dirt, dust, or residue on the circuit board or buttons, use a cotton swab lightly moistened with isopropyl alcohol to clean them. Allow components to dry completely before reassembly.
Step 9: Reassemble the Remote: Carefully place the circuit board back into the casing, ensuring it aligns properly with button cutouts and other components. Secure any ribbon cables or connectors back into their respective sockets.
Step 12: Close and Secure the Casing: Align the casing halves properly and gently snap them back together if held by clips. If screws were used, insert them back into their original locations and tighten them securely.
Step 13: Test the Remote: Insert fresh batteries (if applicable) and power on the LED light system. Test all buttons and functions to ensure the remote is working correctly.
Also read: 5 DIY Tricks to Change LED Light Color Without Remote
Diagnosing Common Remote Issues
As with any electronic device, LED light remotes can experience various issues over time. Diagnosing these common problems can help you identify the root cause and determine whether the remote can be reset, repaired, or needs to be replaced.
Here are some common issues you might encounter and the steps to diagnose them:
LED light remote not responding
- Check the batteries: Make sure the batteries are inserted correctly, have sufficient charge, and are not expired. Replace old or depleted batteries with fresh ones.
- Test the LED indicator: If your remote has an LED indicator, check if it lights up when you press the buttons. If it doesn’t, it might indicate a power-related issue.
- Clean the remote: Dust, dirt, or debris can obstruct button contacts and IR transmitters. Clean the remote’s surface and buttons using a soft cloth or cotton swab lightly moistened with isopropyl alcohol.
Specific buttons not functioning
- Inspect buttons and rubber membrane: Open the remote and examine the rubber membrane and buttons for visible damage or wear. Clean them if necessary.
- Check for button contact issues: Make sure the rubber membrane makes proper contact with the circuit board’s pads. Misaligned or damaged buttons can cause specific functions to fail.
Interference problems
- Avoid line-of-sight issues: Ensure there are no obstructions between the remote and the LED light system. Clear any obstacles that might be blocking the remote’s signal path.
- Check for interference sources: Other electronic devices emitting infrared or radio frequency signals (e.g., TVs, other remotes) can interfere with the LED light remote’s operation. Temporarily move those devices away and test the remote.
Also read: 2835 vs 3528 vs 5050: Understanding LED Light Strip
Final Words
In conclusion, opening an LED light remote is a task that, while seemingly simple, requires careful handling to avoid damaging the device. The process typically involves locating the seam or the compartment that houses the batteries, which is often the entry point for accessing the internal components of the remote. It’s important to use the right tools, such as a flat-head screwdriver or a plastic pry tool, to gently separate the parts without causing harm to the casing or the electronic components inside. This is particularly crucial for remotes that are designed with hidden clips or screws that secure the casing. Taking the time to correctly identify these fastening mechanisms and applying the appropriate force ensures that the remote can be reassembled without issue after the maintenance or battery replacement is completed.
Furthermore, understanding the structure of your specific model of LED light remote can greatly enhance the maintenance process. Many manufacturers provide instructions or diagrams that show how to safely open their devices, which can be invaluable in avoiding common mistakes such as snapping clips or stripping screws. For those without access to such guidance, consulting online forums or tutorials specific to the brand or similar models can provide useful insights. Additionally, maintaining a clean and organized workspace during this process helps keep small parts from getting lost and makes reassembly quicker and more efficient. By approaching the task with patience and the proper tools, users can ensure that their LED light remote continues to function effectively, prolonging the life of the device and ensuring continued control over their lighting environments.