How to Connect LED Light Strips in 60 Seconds: Easy Guide
LED light strips are a great way to add some extra lighting to your home. Not only are they stylish and modern, but they can also be quite functional. Plus, they’re relatively affordable, which makes them a popular choice for many homeowners.
One of the most common questions that people have about LED light strips is how to connect them together. This is actually a fairly simple process, but it can vary depending on the type of light strip that you have. In this guide, we will walk you through the process of connecting LED light strips together step by step. We will also provide some tips and tricks that will make the process a little bit easier. Let’s get started!
How to Connect LED Light Strips Together?
This is the ultimate guide for you. We will go over everything you need to know in order to connect your light strips like a pro! In addition, we will provide some tips and tricks that will make the process a little bit easier. This way you can place LED light strip behind your TV by connecting multiple LED strips. Let’s get started!
Govee Smart LED Strip Lights
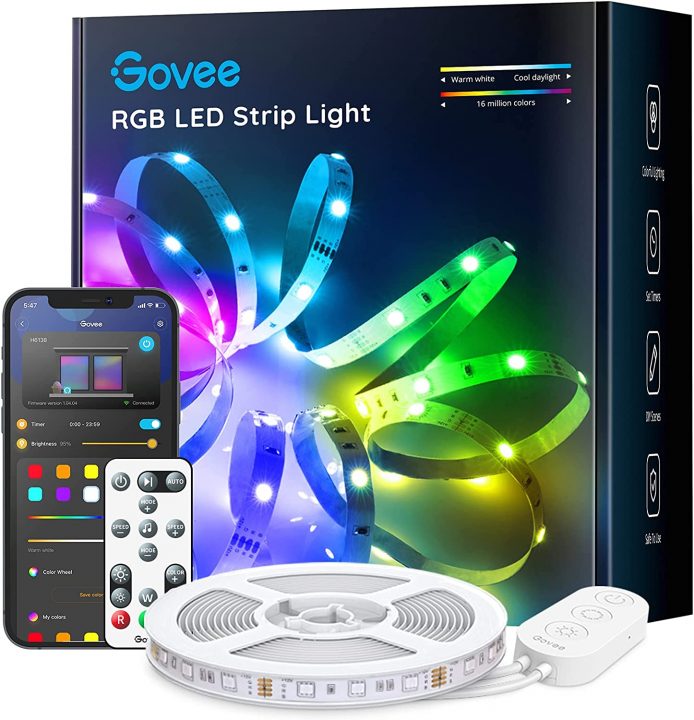
- Wi-Fi LED Light Strip Work with Alexa and Google Assistant
- 16 Million Colors with App Control
- Sync with Music
- Even and bright Light
What do you need to Connect LED Light Strips together?
The first step is to figure out what type of light strip you have. There are two main types of light strips on the market: 12-volt and 24-volt. Most home lighting applications use 12-volt light strips, but some people prefer to use 24-volt light strips for a variety of reasons. If you’re not sure which type of strip you have, simply check the label on the back of the packaging.
Once you know what type of light strip you have, it’s time to gather your supplies. For this project, you will need:
- LED Light Strip (12 or 24 volts)
- Wire strippers
- Wire cutter
- Soldering iron
- Solder
- Heat shrink tubing (optional)
- Electrical tape (optional)
You may also like: How to change LED light color without remote
Step-by-Step Guide on How to Connect LED Light Strips Together
Now that you have all of your supplies, it’s time to get started.
1. The first step is to cut the light strip into the desired length. Most light strips come with marked cut lines every few inches, so simply line up the cutter with one of those lines and make a clean cut.
2. Next, you will need to strip the ends of the wires that are exposed. Use wire strippers to remove about ½ inch of insulation from each end. If you’re using heat shrink tubing, now is the time to slide it over the stripped wires.
3. Once the wires are stripped and/or heat shrink tubing is in place, it’s time to start soldering. Place the two pieces of the light strip that you want to connect side by side and twist the exposed wires together. Then, apply a small amount of solder to the connection and allow it to cool.
4. If you’re using electrical tape, now is the time to wrap it around the connection. This will help to ensure that the connection is secure and will prevent any shorts from occurring.
That’s it! You have now successfully connected two pieces of the LED light strips together. Repeat this process for each additional piece of the light strip that you want to connect.
Also read: How to reset LED light remote controller quickly
Tips and Tricks for Connecting LED Light Strips Together
- Use wire strippers to remove about ½ inch of insulation from each end of the wires.
- If you’re using heat shrink tubing, slide it over the stripped wires before soldering.
- Place the two pieces of the light strip that you want to connect side by side and twist the exposed wires together.
- Apply a small amount of solder to the connection and allow it to cool.
- If you’re using electrical tape, wrap it around the connection. This will help to ensure that the connection is secure and will prevent any shorts from occurring.
FAQs about connecting LED light strips together
Q: Can I use electrical tape instead of heat shrink tubing?
A: Yes, you can use electrical tape instead of heat-shrink tubing. However, we recommend using heat shrink tubing because it provides a more secure connection.
Q: Do I need to use a soldering iron for this project?
A: No, you do not need to use a soldering iron for this project. You can simply twist the wires together and secure them with electrical tape. However, we recommend using a soldering iron because it will create a more secure connection.
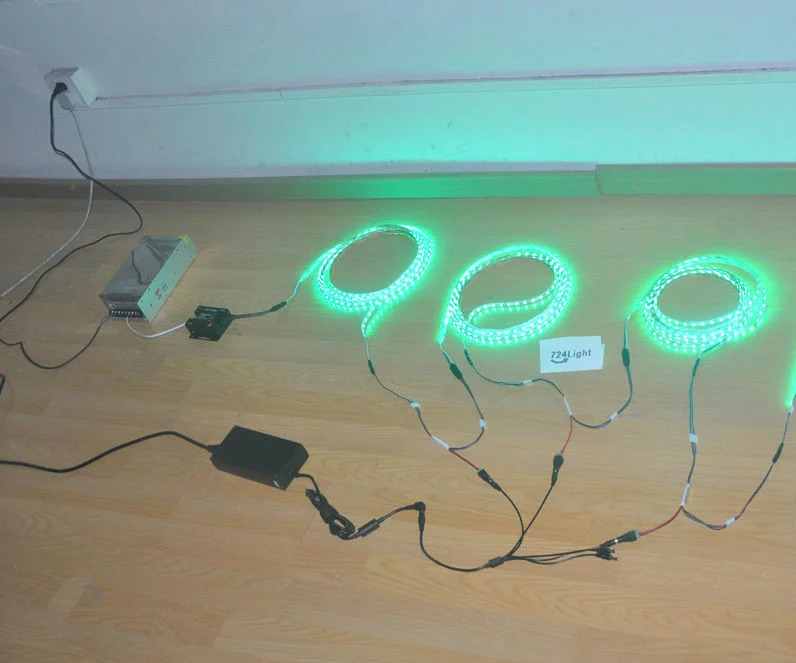
Q: Can I connect multiple light strips together?
A: Yes, you can connect multiple light strips together. Simply repeat the process for each additional strip that you want to connect.
Final Words
In conclusion, connecting LED light strips within 60 seconds is an achievable goal that can significantly enhance the efficiency of your lighting projects. This quick and straightforward process is ideal for those looking to quickly add or modify LED lighting without extensive technical know-how. The key to success lies in preparing the materials and workspace beforehand, ensuring that all components such as the LED strips, connectors, and power supply are readily accessible and compatible. Using reliable, snap-on connectors that require no soldering can greatly simplify the process, making it accessible even to novices. These connectors not only save time but also minimize potential errors that can occur with more complex wiring tasks.
Furthermore, it’s important to follow a clear, step-by-step guide that includes checking the polarity of the strips and ensuring a secure connection to avoid common pitfalls such as loose connections or mismatched polarities, which can lead to malfunctioning lights. Emphasizing safety, especially when dealing with electrical components, is crucial. Always ensure that the power source is off while making connections to prevent any accidental shorts or electrical shocks. By following these simple guidelines, you can effectively and safely enhance your home or workspace with LED lighting, adding both aesthetic appeal and functional illumination with minimal effort and time investment. This quick-connect approach not only makes LED strips a versatile choice for various lighting needs but also promotes a DIY-friendly atmosphere for home improvement enthusiasts.
Now that you know how to connect LED light strips together, it’s time to get creative and have some fun with your lighting! If you come up with any cool ideas, be sure to share them with us on our social media pages. We would love to see what kinds of things our readers are creating with LED lights. Happy wiring!