What is LED Strip Voltage Drop?
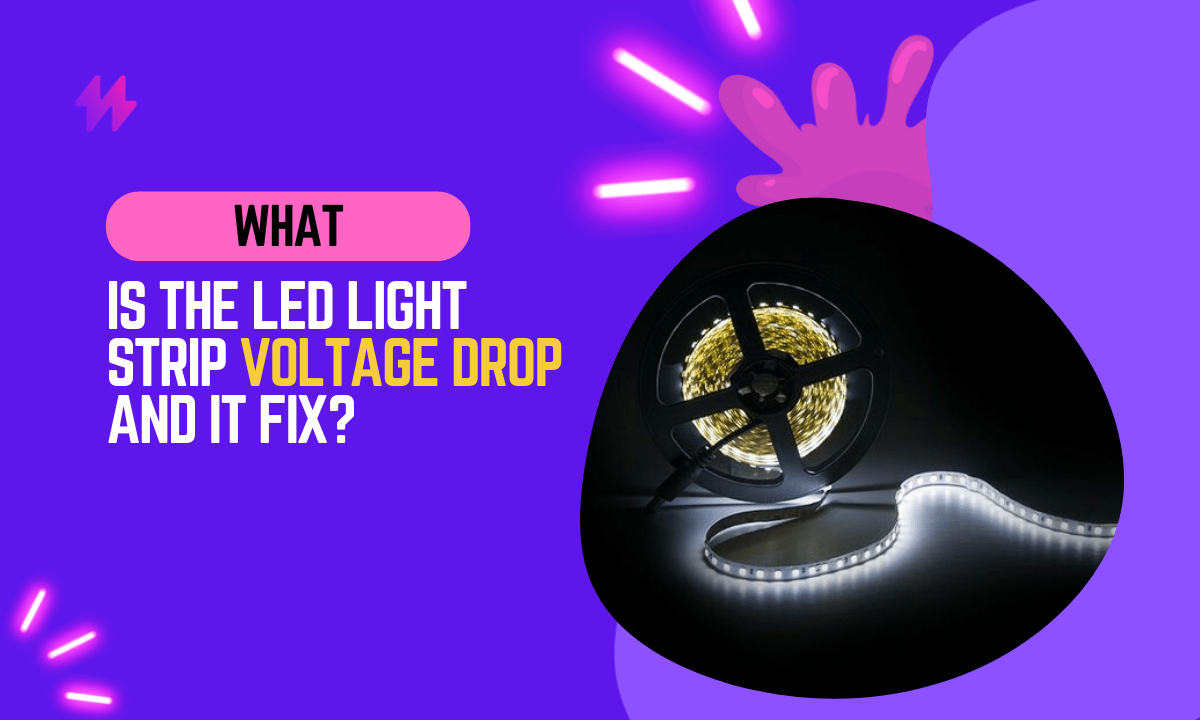
Have you ever had a problem with your LED lights not turning on? If so, you may have been experiencing a voltage drop. Voltage drop occurs when the voltage supplied to an LED strip is not enough to power the LEDs. This can happen for several reasons, such as:
- Too much resistance in the circuit: The length and thickness of the wires determine the resistance of a circuit. If the wires are too long or too thin, they will create more resistance and cause the voltage to drop.
- A loose connection: If the connection between the LED strip and the power supply is loose, it can cause the voltage to drop.
- A faulty power supply: If the power supply is not providing enough voltage, it can cause the LED strip to not turn on.
If you are experiencing any of these problems with your LED lights, you are likely experiencing a voltage drop. In the next section, I will discuss how to troubleshoot and fix voltage drop problems.
I promise that by the end of this article, you will have a better understanding of what voltage drop is and how to fix it. So if you’re ready to learn more, keep reading!
What is LED Strip Voltage Drop?
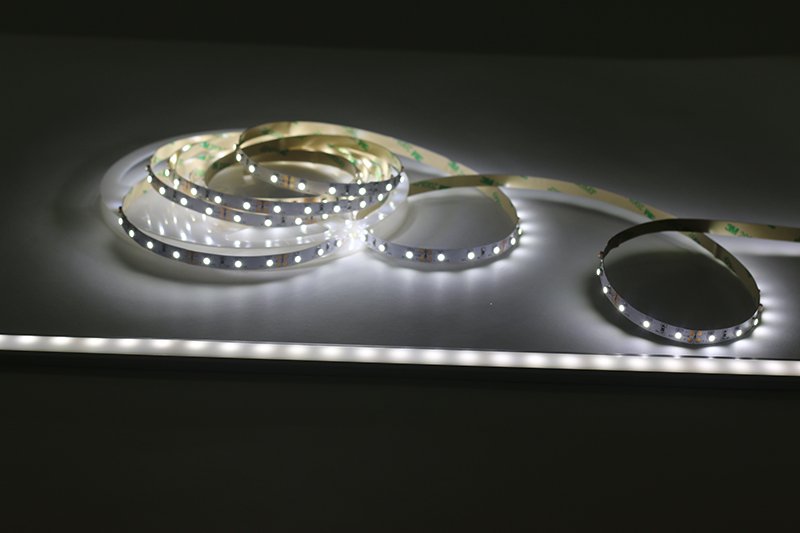
LED strip voltage drop is the difference in voltage between the input voltage and the voltage at the end of the LED strip. This can occur due to several factors, including the length of the strip, the number of LEDs on the strip, and the type of LED strip used.
Also read: Can You Use LED Strips to Grow Plants?
What causes LED strip voltage drop?
Several factors can cause LED strip voltage drop, including:
- Length of the strip: The longer the LED strip, the greater the voltage drop will be. This is because the resistance of the LED strip increases as the length increases.
- Number of LEDs on the strip: The more LEDs on the strip, the greater the voltage drop will be. This is because the resistance of the LED strip increases as the number of LEDs increases.
- Type of LED strip: The type of LED strip used can also affect the voltage drop. LED strips with higher power ratings will have a greater voltage drop than those with lower power ratings.
Problems Caused by LED Strip Voltage Drop
I have seen voltage drops cause several problems for LED lights. These problems can include:
- Dimmed or flickering lights: When the voltage drops, the LEDs will not be able to reach their full brightness. This can make them appear dimmer or flicker.
- Shortened lifespan: LEDs are designed to operate at a specific voltage. When the voltage drops, it can damage the LEDs and shorten their lifespan.
- Failure to turn on: If the voltage drops too low, the LEDs will not be able to turn on at all.
How to calculate LED strip voltage drop?
- Identify the desired length of the LED strip you intend to use.
- Verify the voltage output of your LED power supply.
- Calculate the overall wattage of the LED strip by multiplying its length by the wattage per foot.
- Determine the voltage drop of the LED strip by multiplying the total length by the voltage drop per foot.
- Subtract the calculated voltage drop from the LED power supply voltage to establish the minimum required voltage for proper LED strip functionality.
- Alternatively, streamline the process by utilizing online voltage drop calculators, which consider specific LED strip and power supply specifications for a more precise calculation.
The formula for calculating LED strip voltage drop is:
Voltage drop = (CurrentxResistance) where;
- Voltage drop is the difference in voltage between the input voltage and the voltage at the end of the LED strip.
- Current is the current flowing through the LED strip.
- Resistance is the resistance of the LED strip.
To calculate the voltage drop, you need to know the input voltage, the current flowing through the LED strip, and the resistance of the LED strip.
The input voltage is the voltage that is supplied to the LED strip. This is usually 12V or 24V.
The current flowing through the LED strip can be calculated by multiplying the number of LEDs on the strip by the current rating of each LED. For example, if you have a 10-foot LED strip with 30 LEDs per foot, and each LED has a current rating of 20 mA, the total current flowing through the strip will be 30 LEDs20 mA = 600 mA.
The resistance of the LED strip can be calculated by dividing the input voltage by the current flowing through the strip. For example, if the input voltage is 12V and the current flowing through the strip is 600 mA, the resistance of the strip will be 12V / 600 mA = 0.02 ohms.
Once you know the input voltage, the current flowing through the LED strip, and the resistance of the LED strip, you can calculate the voltage drop using the formula above.
Also read: How to Dim LED Strip Lights?
How to compensate for LED strip voltage drop?
There are several ways to compensate for LED strip voltage drop, including:
- Using a higher input voltage: Using a higher input voltage will reduce the voltage drop. However, this may not be practical if you are using a power supply that is not designed for a higher input voltage.
- Using a lower current rating: Using a lower current rating will reduce the voltage drop. However, this may not be practical if you need to achieve a certain brightness level.
- Using a thicker LED strip: Using a thicker LED strip will reduce the resistance and, therefore, the voltage drop. However, this may not be practical if you are working with a limited amount of space.
- Using a buck converter: A buck converter is a type of electronic circuit that can reduce the voltage without reducing the current. This is a good option if you need to use a higher input voltage but do not want to reduce the current.
You may also like: How to Use UV Strip Lights?
Conclusion
In conclusion, understanding LED strip voltage drop is essential for anyone looking to implement LED strip lighting effectively, whether in residential, commercial, or artistic settings. Voltage drop occurs when the electrical current traveling along the strip encounters resistance, leading to a decrease in voltage along the length of the strip. This can result in the LEDs at the end of the strip emitting dimmer light compared to those at the beginning. The phenomenon is particularly noticeable in longer strips where the distance the current must travel is greater, thereby increasing the resistance encountered. To mitigate this effect, it is important to calculate the expected voltage drop over the desired length of the strip and adjust the installation method accordingly. Using higher voltage strips, installing multiple shorter sections in parallel, or employing a higher gauge wire for power connections can help maintain consistent brightness across the entire length of the strip.
Moreover, proactive planning can greatly enhance the performance and appearance of LED lighting installations. When designing projects that involve LED strips, one should also consider the type of LED strip, as different models and brands may have varying resistances and thus susceptibility to voltage drop. Consulting with experts or referring to detailed product specifications can provide valuable insights into the best practices for each particular setup. Additionally, regular maintenance and testing of the installation can prevent potential issues from becoming significant problems, ensuring that the lighting remains both beautiful and functional over time. By taking these factors into account, designers and DIY enthusiasts alike can maximize the effectiveness of their LED strip lights, ensuring they provide a reliable and consistent source of illumination in any application.


