How To Install Toe Kick Lighting with Ease in 2023
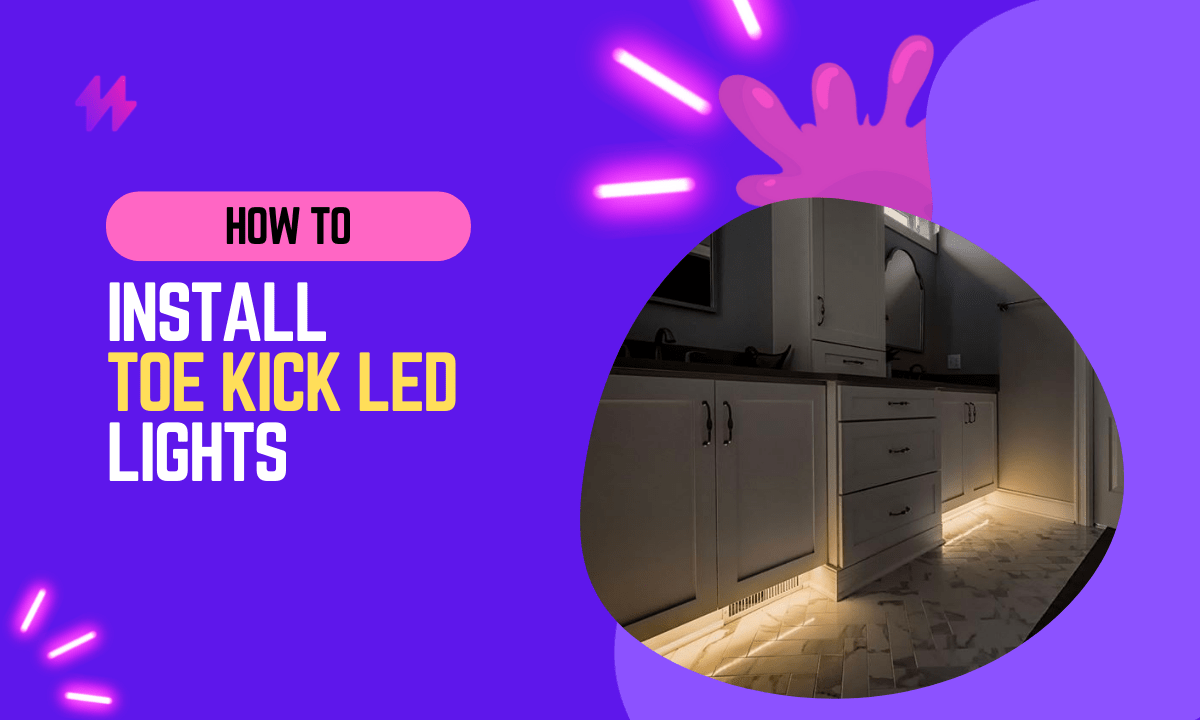
Toe kick lighting is becoming a popular way to light up a room. It is a type of recessed lighting that is installed along the bottom of cabinets and furniture. The popularity of toe kick lighting comes from its ability to provide directed task lighting without taking up any additional space in the room.
Installing toe kick lighting is a relatively easy process, but there are a few things you need to know before getting started. In this article, we will walk you through the process of installing toe kick lighting, as well as answer some common questions about the installation process.
Toe kick lighting serves as an excellent lighting design technique by adding a functional touch to your kitchen or workspace while also enhancing aesthetics. Whether you choose to install toe kick lights with LED lights or utilize light strips, ensuring proper connections to the electrical box and a functional light switch is essential for an effective setup.
How to Install Toe Kick Lighting with Ease in 2023
Toe kick lighting is a type of recessed lighting that is installed along the bottom of cabinets and furniture. Toe kick lighting comes with the ability to provide directed task lighting without taking up any additional space in the room.
Toe kick lighting is a great way to add some extra light to a room, especially in areas where natural light is limited. The lights can be used to brighten up a dark corner or to provide some extra light for tasks like cooking or reading.
There are two main types of toe kick lighting: direct wire and plug-in.
Direct wire lights are hardwired into the electrical system of the home, while plug-in lights simply plug into an outlet.
Toe kick lighting is an innovative solution for those looking to enhance their kitchen or workspace with artificial lighting. To install toe kick lighting with ease in 2023, it’s important to measure the required inches accurately and ensure that the light fixtures are connected to the electrical panel therefore facilitating a seamless setup.
Essential Components for Installing Toe Kick Lighting:
- Toe kick lighting fixtures
- Drill
- Screws
- Wire strippers
- Electrical tape
- Wire nuts
- Level
- Tape measure
- Pencil or marker
Step-by-Step Guide to Installing Toe Kick Lighting
Step 1: Choosing the Perfect Location for Installing Toe Kick Lighting
The first step in installing toe kick lighting is to choose the location for your fixtures. You will want to choose a spot that is close to an electrical outlet so you can easily plug in the lights.
You will also want to make sure that the area you choose is level so your lights will be evenly distributed. Once you have found the perfect spot, use a tape measure to find the center of the area and mark it with a pencil or marker.
When selecting your toe kick lighting location, consider whether it will be easily accessible for changes or adjustments in the future. By ensuring you have a well-thought-out placement, you can achieve a polished look with your own toe kick and the perfect under-cabinet lights for your space.
Step 2: Drilling Pilot Holes for Toe Kick Lighting Installation
Next, you will need to drill pilot holes for your screws. The size of the hole will depend on the size of the screw you are using.
Once you have drilled the pilot holes, insert the screws into the holes.
When installing toe kick lighting, using a measuring tape to mark the placement is crucial for maintaining straight lines and achieving a cohesive light design. Consider purchasing flex connectors to facilitate the connection of your 5-foot long light strips, making the installation process smoother and more efficient.
Step 3: Installing Toe Kick Lighting Fixtures for an Enhanced Ambiance
Now it is time to install the toe kick lighting fixtures. If you are using direct wire lights, you will need to strip the ends of the wires and connect them to the corresponding wires in your electrical system. Use electrical tape or wire nuts to secure the connections.
If you are using plug-in lights, simply insert the plugs into the outlets.
To ensure a successful installation of toe kick lighting, remember to check that your fixtures align properly with the toe kick trim to maintain a seamless look in your kitchen. Installing cabinet lighting with the correct flex cable can make adjustments and changes to the design much more manageable in the future.
Step 4: Activate Power and Revel in Your New Toe Kick Lighting!
Once all of your fixtures are installed, turn on the power and enjoy your new Toe kick lighting!
Replacing traditional lighting solutions does not only improve functionality but also adds an aesthetic touch. Understanding how to install toe kick lighting with ease in 2023 can elevate the overall look of your kitchen or workspace, ensuring a modern design.
Exploring Toe Kick Lighting for Your Kitchen
Toe kick lighting is a great way to add some extra light to your kitchen. The lights can be used to brighten up a dark corner or to provide extra light for tasks like cooking.
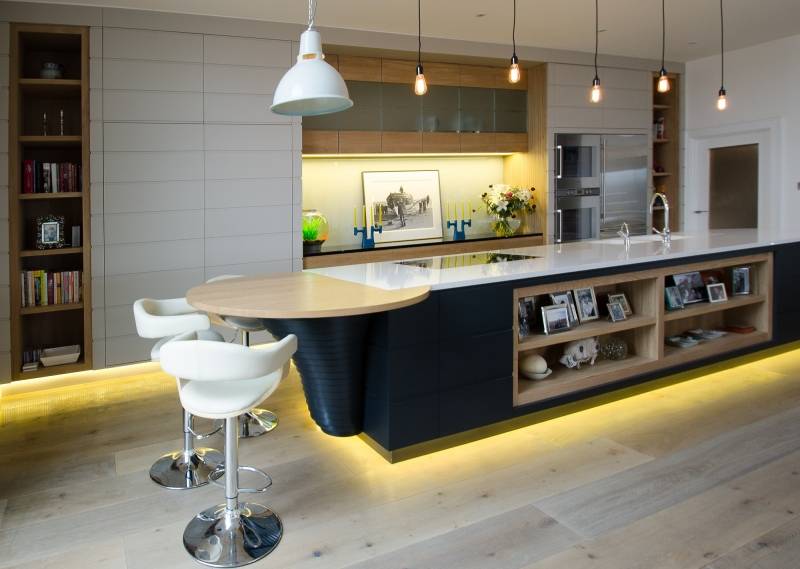
As they are small, and energy-efficient, you can add Toe kick lighting in tight spaces like drawers, pantries, under kitchen cabinets, and Toe kicks.
Toe kick lighting not only enhances functionality but also transforms the ambiance of your kitchen with subtle brightness. Installing toe kick lighting can create a welcoming atmosphere, making your workspace not only more practical but also visually appealing.
- Great for both small and large kitchens
- Can use on a kitchen island
- Utilize LED color temperature to match kitchen decor
Discover Toe Kick Lighting: Transform Your Bathroom Space
Toe kick lighting in the bathroom can provide a warm and inviting ambiance. The lights can be used to brighten up a dark corner or to provide extra light for tasks like shaving or applying makeup. They can be installed under cabinets in bathrooms, underneath vanities, near bathtubs and showers
Toe kick lighting is a versatile option for illuminating various spaces beyond the kitchen. By incorporating this lighting in bathrooms, homeowners can create a functional and aesthetically pleasing environment, enhancing overall usability and style.
- Great for small bathrooms as it does not take up any additional space.
- Utilizing LED color temperature can also help match the bathroom decor.
FAQs on Installing Toe Kick Lighting: Everything You Need to Know
Q: Benefits of Installing Toe Kick Lighting: Should You Consider It?
A: If you are looking for a way to add some extra light to your home, toe kick lighting is a great option. The lights are small and energy efficient, so they won’t add to your electricity bill.
Toe kick lighting can create an inviting atmosphere, making it a practical choice for various areas in your home. Additionally, incorporating toe kick lights into your design can elevate the style of your spaces while maintaining energy efficiency.
Understanding the Best Locations to Install Toe Kick Lighting: Essential Tips
A: You will want to choose a spot that is close to an electrical outlet so you can easily plug in the lights. You will also want to make sure that the area you choose is level so your lights will be evenly distributed. Once you have found the perfect spot, use a tape measure to find the center of the area and mark it with a pencil or marker.
When planning the installation of your toe kick lighting, it’s crucial to select an area that can facilitate easy access to an electrical outlet for convenience. Ensuring that the surface is level plays a significant role in achieving even distribution of your toe kick lights, contributing to a polished and professional look.
Q: What Type of Light Should I Use for My Toe Kick Lighting?
A: There are two main types of toe kick lighting- direct wire and plug-in. Direct wire lights are hardwired into your electrical system, while plug-in lights simply plug into an outlet.
Toe kick lighting is not only functional but also stylish, allowing for creative expressions in various room designs. Whether you opt for direct wire or plug-in options, ensuring a clean installation will enhance both ambiance and usability in any space.
Conclusion on Toe Kick Lighting Installation
In conclusion, installing toe kick lighting is an effective way to enhance the functionality and aesthetic appeal of your space in 2023. This type of lighting provides subtle illumination that can make navigating kitchens, bathrooms, and other areas of the home safer and easier during low-light conditions, while also adding a sleek, modern touch to the design. The installation process, when approached with care and proper planning, can be straightforward and rewarding. It is essential to start by selecting the appropriate type of lighting—LED strips are commonly preferred for their efficiency and ease of installation. Measuring the length of the area where the lighting will be installed ensures that the LED strips fit perfectly, while choosing a color temperature that complements the room’s existing decor can enhance the overall ambiance.
Furthermore, connecting the LED strips to an appropriate power source is crucial for a successful installation. This might involve wiring the lights directly to an existing power line or utilizing a plug-in transformer, depending on the setup’s complexity and the homeowner’s electrical expertise. Ensuring that all electrical connections are secure and that the wiring is hidden or integrated neatly into the design not only improves the installation’s safety but also its overall appearance. For those less experienced with electrical tasks, hiring a professional can provide peace of mind, ensuring that the toe kick lighting is installed correctly and operates efficiently. By following these guidelines, homeowners can achieve a polished and practical lighting setup that enhances the visual depth and usability of their spaces, making toe kick lighting a valuable addition to any modern home.
How To Install Toe Kick Lighting With Ease In 2023 | Essential Components for Installing Toe Kick Lighting
To successfully tackle the project of toe kick lighting, understanding the essential components is crucial. How To Install Toe Kick Lighting with Ease in 2023 revolves around selecting the right fixtures, wiring, and tools. Consider low-profile LED strips or puck lights designed specifically for toe kick areas to provide the best illumination without overwhelming the space. Also, having the necessary tools, such as a screwdriver, wire connectors, and a measuring tape, will streamline the installation process. By focusing on these key elements, the task can transform from daunting to manageable, ensuring a smooth installation experience.
How To Install Toe Kick Lighting with Ease in 2023 | Necessary Tools for a Successful Installation
To successfully execute How To Install Toe Kick Lighting with Ease in 2023, having the right tools is crucial. A power drill is essential for securing fixtures to the cabinetry. Wire strippers also play a critical role in preparing your electrical connections. Make sure to have a screwdriver set on hand for various screws you may encounter during the installation process.
A quality measuring tape ensures you achieve precise placement for your lighting fixtures. Electrical tape is necessary for securing connections and enhancing safety. Lastly, a level can help maintain a uniform look when installing multiple lights. With these tools at your disposal, you will streamline the process of How To Install Toe Kick Lighting with Ease in 2023.
Types of Lighting Fixtures Suitable for Toe Kick Areas
LED strip lights are a popular choice for toe kick areas due to their flexibility and energy efficiency. These lights can easily be cut to fit any space, providing a seamless look that enhances the overall aesthetic of your cabinetry. Understanding how to install toe kick lighting with ease in 2023 involves recognizing the versatility of LED strips. They can be mounted under cabinets or along the floor, creating an inviting glow that adds depth to your kitchen or bathroom.
Puck lights are another excellent option for toe kick lighting. These small, round fixtures offer focused illumination and can be placed strategically to highlight specific areas. Their compact design allows for easy installation in tight spaces. Knowing how to install toe kick lighting with ease in 2023 will enable you to choose the right fixtures that complement your interior design while providing functional lighting.
StepbyStep Guide to Installing Toe Kick Lighting
Installing toe kick lighting can significantly enhance your kitchen or bathroom’s ambiance. Understanding how to install toe kick lighting with ease in 2023 requires a systematic approach. Start by assessing the space where you want the lights to shine, ensuring you choose fixtures that complement your overall design. Preparing your area involves measuring accurately and gathering the necessary tools for installation. Learning how to install toe kick lighting with ease in 2023 also means considering the type of lighting fixtures suitable for the space, whether you prefer LED strips or puck lights. Each step taken with precision will lead to a successful and aesthetically pleasing installation.
Preparing Your Space for Toe Kick Lighting
To successfully install toe kick lighting, it’s essential to clear the area where the fixtures will be placed. Remove any obstructions such as furniture, rugs, or appliances that may hinder the installation process. This will provide ample space to work and ensure accurate placement of the lighting. Knowing how to install toe kick lighting with ease in 2023 means you can focus on the details without worrying about navigating around clutter.
Next, take measurements of the toe kick area to determine the appropriate length for your lighting fixtures. Mark the spots where the lights will be installed, making sure they are evenly spaced for a polished look. Having a well-prepared space makes a significant difference in the overall effectiveness and ambiance of the lighting. Understanding how to install toe kick lighting with ease in 2023 involves meticulous preparation, setting the stage for a successful project.
Final Touches After Installing Toe Kick Lighting
After completing the installation of your toe kick lighting, it’s important to check the functionality of the fixtures. Turn on the lights to ensure they are properly wired and positioned. Adjust the brightness if the fixtures have dimmer options. This step is essential to see if any areas need additional illumination or if any fixtures require repositioning. Following these checks will help you achieve a polished look while demonstrating how to install toe kick lighting with ease in 2023.
Take some time to clean the area surrounding the toe kick lighting. Dust, debris, or leftover materials from the installation can detract from the overall appearance. A final clean-up will also help in maintaining the longevity of the lighting fixtures. Inspect the installation for any visual imperfections and make necessary corrections to ensure everything looks seamless. These finishing touches highlight the importance of aesthetics when learning how to install toe kick lighting with ease in 2023.

